Since our August 2016 Release, you can officially border images with bulkWaterMark – of course in batch. To use this new feature, you need to add a new Frame Layer to your watermark template. This type of layer draws a frame around your photos – additionally to your watermark.
Adding Frame Layer
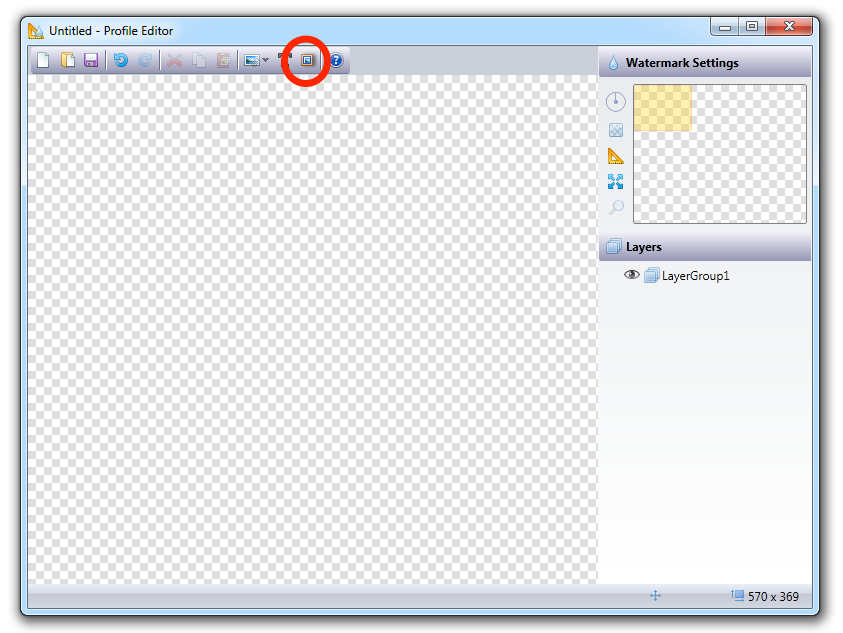
To add a Frame Layer, just click the Add Frame Layer button. Immediately afterwards, bulkWaterMark adds the layer to the canvas. Unlike other layer types, you cannot move or resize a Frame Layer. And: You can only add a single Frame Layer per Profile.
Border Color
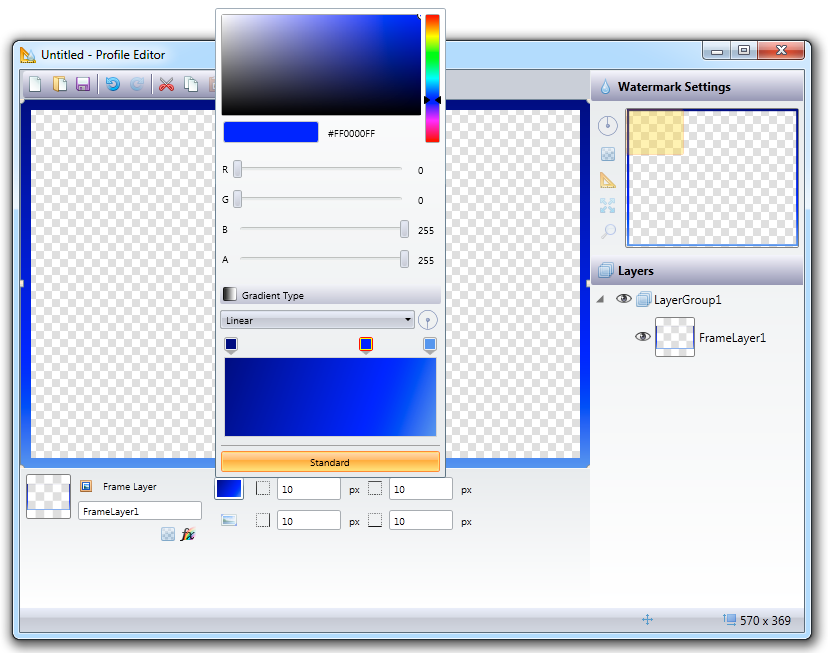
This is a bulkWaterMark standard task: You can set the color of Frame Layer via the Color Picker. Use gradients to make the border more vibrant.
Border Thickness
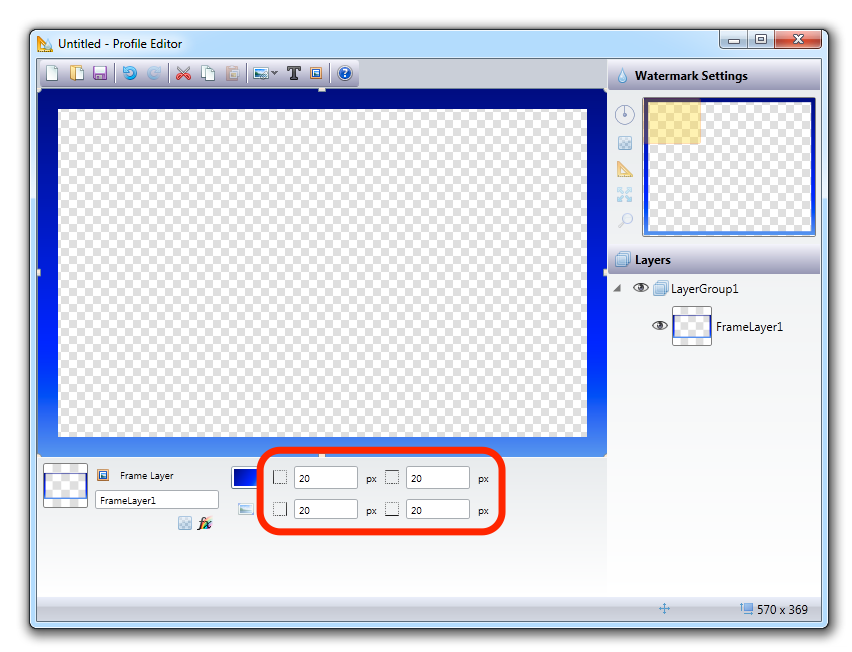
You can change the border’s thickness for each side individually by using the fields.
Effects and Layers
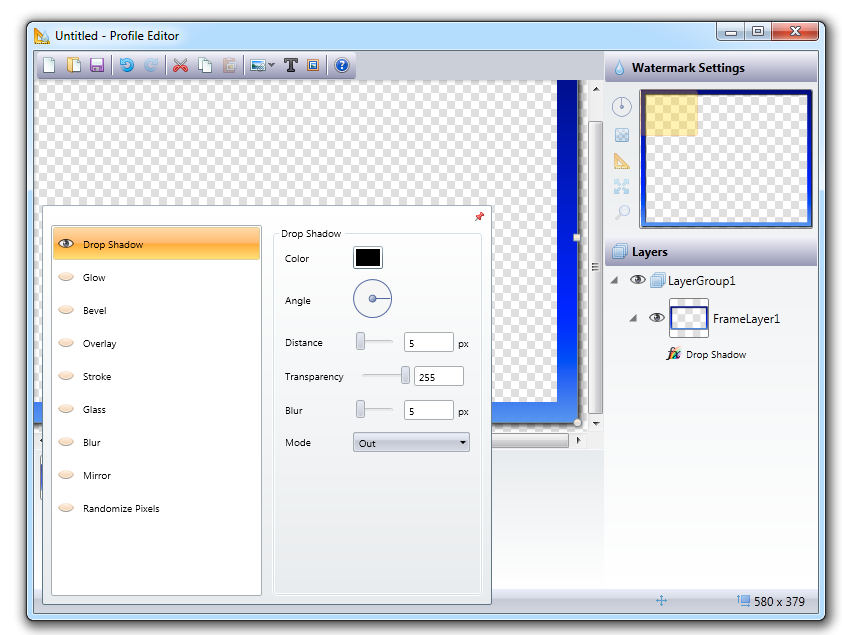
All layers in bulkWaterMark can be enhanced with Effects to let them appear more creative and diversified – likewise the Frame Layer.
By clicking the button Effects, the Effects popup gets opened and you can add effects like Bevel or Drop Shadow to your border.
Keep Ratio on Resizing
bulkWaterMark draws the border around the containing photo within the output image size you are defining. Depending on the frame size and the effect settings, it is possible that the original input image needs to be resized to fit into the frame to avoid deformation. Enable the feature Keep Size Ratio to ensure that the image gets resized proportionally and the frame thickness gets adjusted automatically.


Layer Transparency
All composition objects in bulkWaterMark have a transparency value that is adjustable for each layer or layer group individually. Just click the Transparency button to open the transparency settings.
Try out this amazing new feature to border images now: The Frame Layer is also available in Free edition of bulkWaterMark!
Cheers,
Phil


